Outreachy Internship blog: A beginner’s guide to Intermine Boot
Outreachy Internship blog: A beginner’s guide to Intermine Boot
Hello! This blog is part of the series of blogs I am writing during my Outreachy 2020 summer internship with Intermine Boot project in the Intermine Organization.
Data is of paramount importance in research works. In biological research domains, there are multiple research communities working and generating new biological datasets for DNA, yeast, mouses etc. At the same time, there are many researchers who need to work with these datasets for their research projects.
One way to share data may be to just hand over archived datasets. In this case, there are numerous problems like, how can you understand the data format, how do you clean this data in case of any inconsistency, how do you search through this data, how do you integrate this data with different datasets, how do you store huge data.
Intermine is a biological data warehouse which aims to resolve these issues and make accessing data easier for researchers. Once a dataset is added to intermine, users can perform complex queries over it to get the required information.
There are different intermines for different types of data like FlyMine, YeastMine, HumanMine, WormMine. The intermine project is open source and it allows research organizations to set up intermine instances dedicated to their datasets.
An intermine instance provides both web app and web service where you can host data and clients can make queries to get integrated biological data. Now that we have covered basics, let’s move towards why the project I am working on becomes relevant!
Setting up your own instance of intermine is a time consuming and complex process requiring a fair amount of Linux administration skills. We would want to make this process easier so that people with very little programming knowledge can do it. Intermine cloud project attempts to solve this and lower the barrier of running an intermine instance.
Intermine Cloud is composed of three main parts – wizard, configurator and compose. The wizard provides an easy way for setting custom configuration for the new intermine instance. The configurator is the backend of the wizard which creates necessary configuration files required to build the intermine instance. Once an intermine instance is built, the compose handles deploying and managing intermine instances on the cloud.
At times, a user may want to set up the intermine instance locally to see how the project will look or while he is trying to make some customizations to extend intermine for the different use cases. Or if he wants to host the intermine instance on his own servers. That’s where the Intermine Boot project comes in.
Intermine Boot is a command line tool which aims to allow users to easily setup local intermine instances inside docker containers, upload data archives to the cloud and other functionalities to make the convenience features for users.
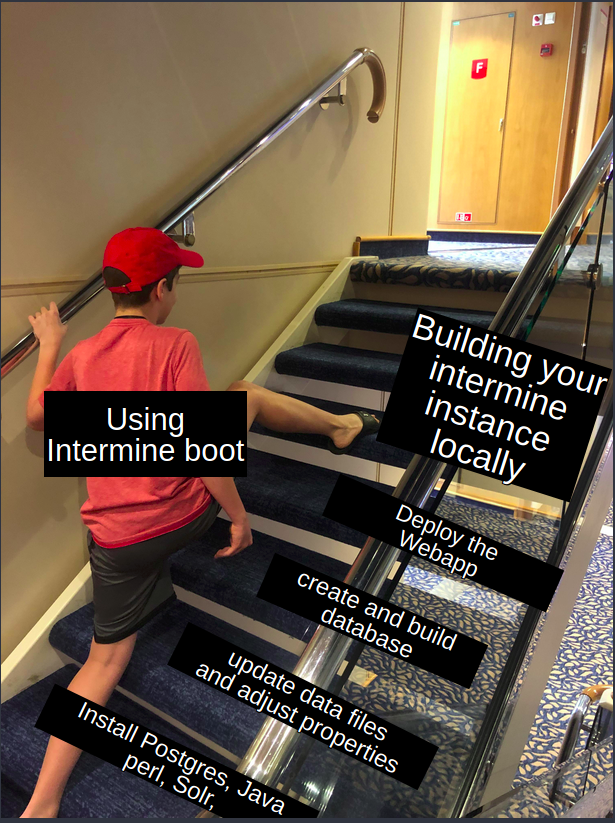
Let’s understand the use case with an example. Suppose as an end user, you get interested in intermine. You want to set up and host your intermine instance on your servers. You dig in the documentation, start setting up postgresql, gradle, perl, solr etc etc. Meanwhile, you are also polluting your system’s environment in case you are not using docker or any other virtualization. The intermine boot aims to make this process as easy as running few commands on terminal. Below is a meme version to explain the benefits in a funny way!
You can find the intermine boot at https://github.com/intermine/intermine_boot and all intermine org projects at https://github.com/intermine
This is enough introduction for the Intermine and Intermine boot. Feel free to dive in the project now, we have a lot of interesting things going on!
If you can’t explain it simply, you don’t understand it well enough.
– Albert Einstein
Comments
Post a Comment